How to Custom Color Your Dogs Using the CAM!
This tutorial is based on what you must do in Photoshop CS3. Photoshop or programs like it are an absolute neccessity for this. You must be able to work with layers! If you don't have an art program that would support this, an alternative is to find an artist who does and ask/commission them for help.First, you will need to save a bare lineart file and one base file, provided below, for the breed you intend to color.
Linearts:
Catahoula Cur
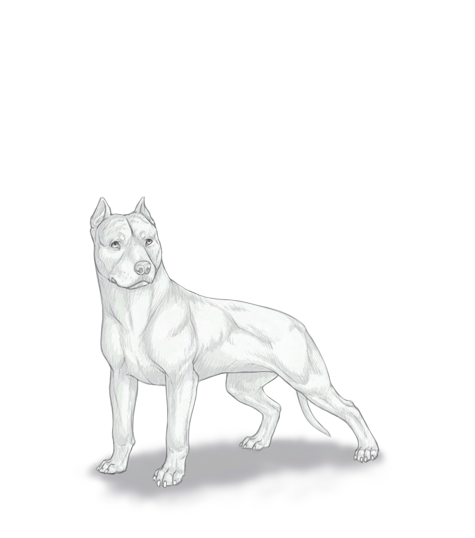
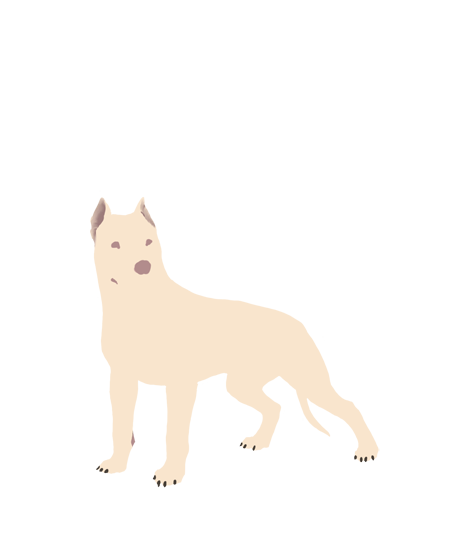
Cropped Pit Bull
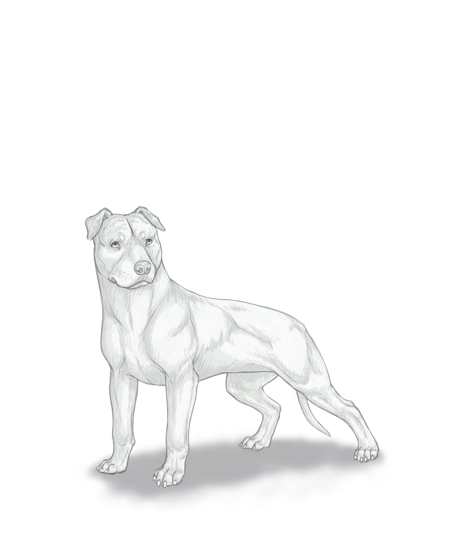
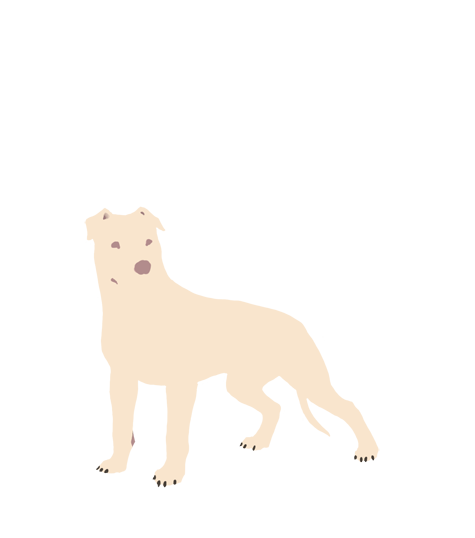
Natural Pit Bull
Docked Aussie
Normal Aussie
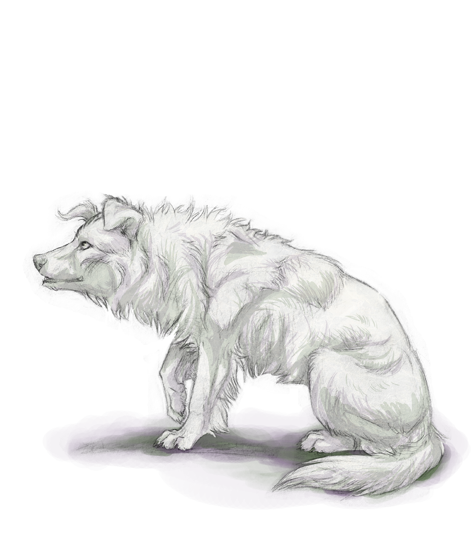
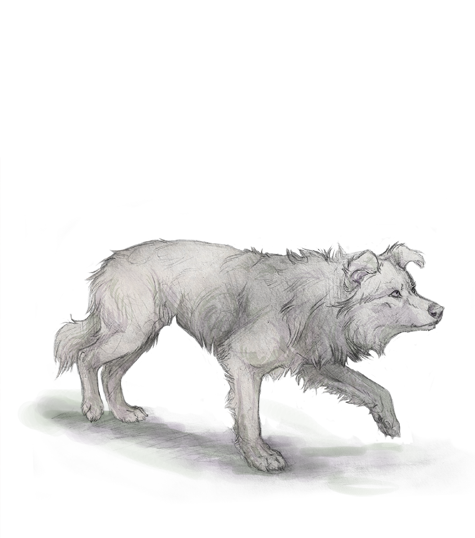
Border Collie
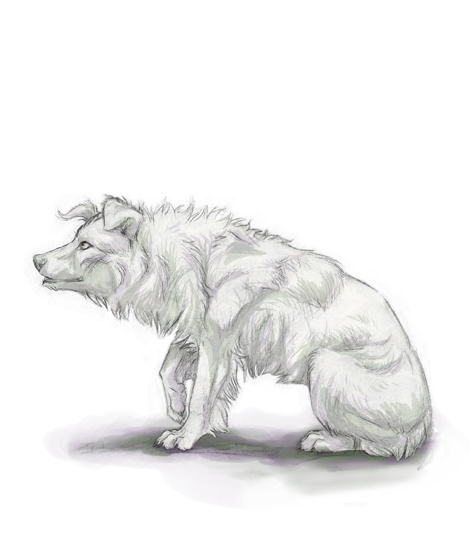
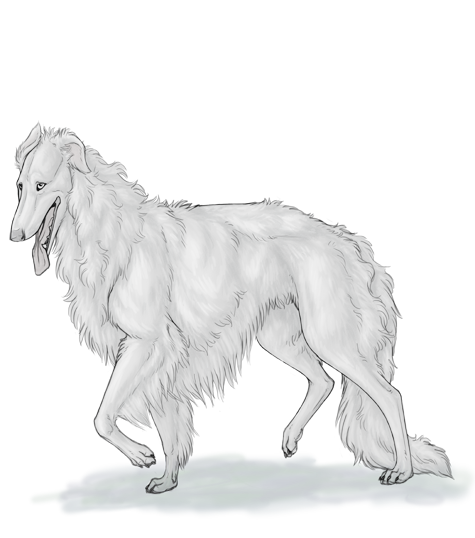
Borzoi
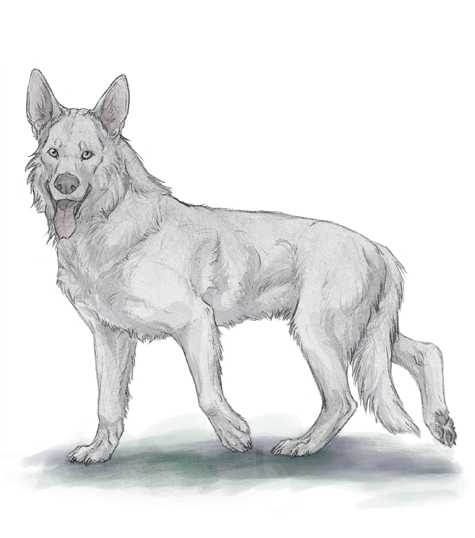
German Shepherd
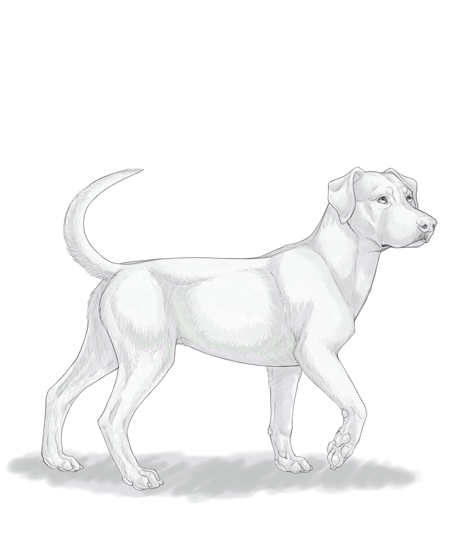
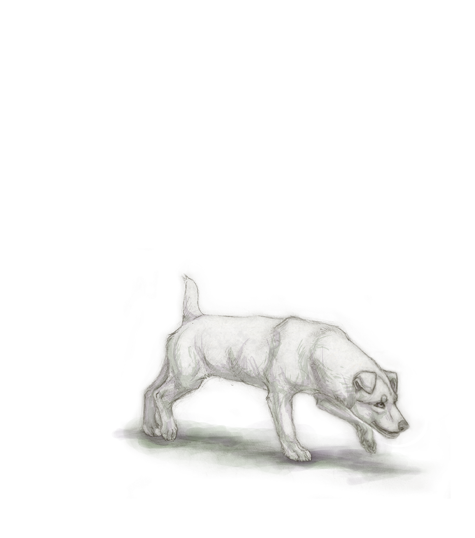
Jack Russell Terrier
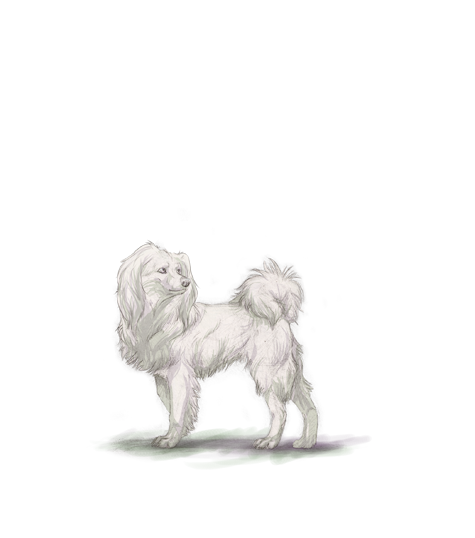
Firm Eared Papillon
Floppy Eared Papillon
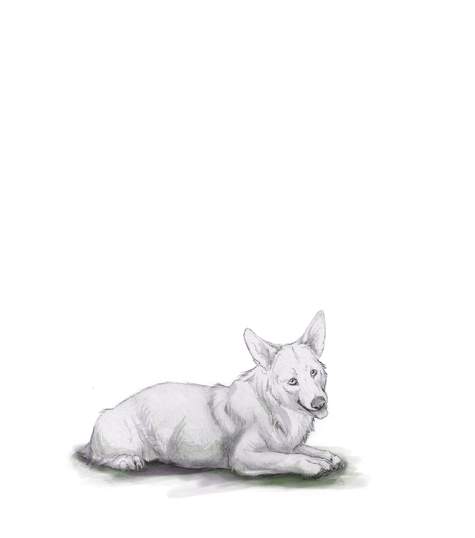
Pembroke Welsh Corgi
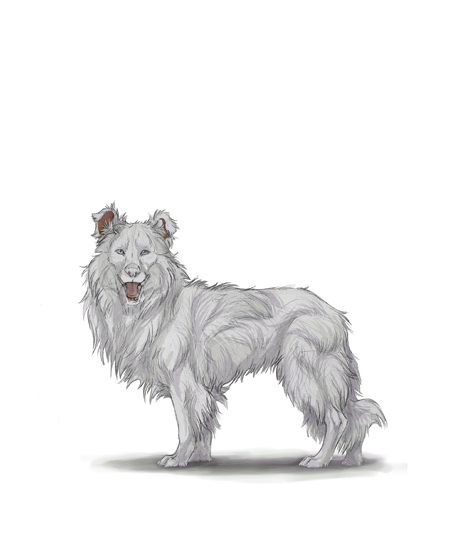
Shetland Sheepdog
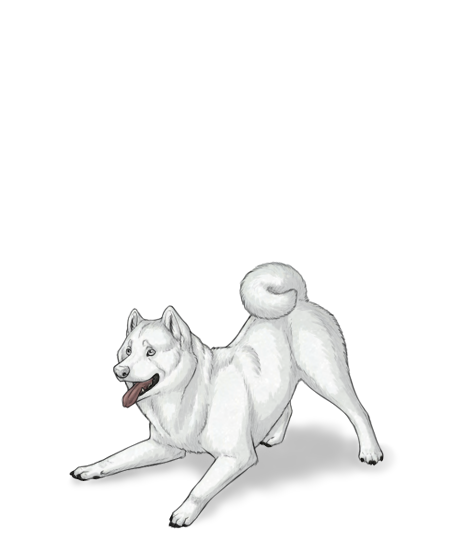
Curly Tailed Siberian Husky
Shiba Inu
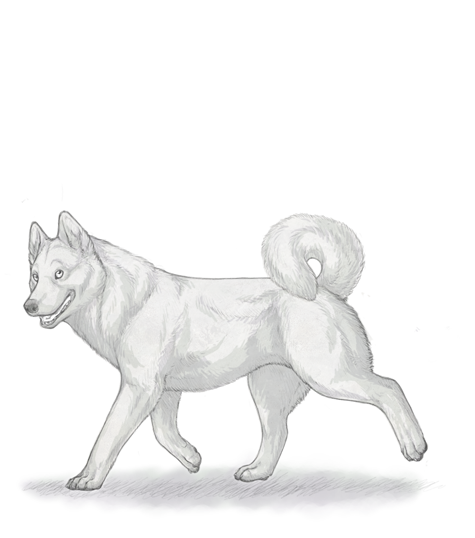
Straight Tailed Siberian Husky
Bases:
Catahoula Cur
Cropped Pit Bull
Natural Pit Bull
Docked Aussie
Normal Aussie
Border Collie
Borzoi
German Shepherd
Jack Russell Terrier
Firm Eared Papillon
Floppy Eared Papillon
Pembroke Welsh Corgi
Shetland Sheepdog
Curly Tailed Siberian Husky
Shiba Inu
Straight Tailed Siberian Husky
Next, right-click and save an on-site picture of the breed you're going to be coloring. You will be using this as your background, to help make sure things are lined up properly.
Now open all of these files in Photoshop (or other art program). Start with your bare lineart file, and follow these steps:
1. Go to your base color file and Select > Select All, then Edit > Copy.
2. Go to your lineart file, Edit > Paste, and put the pasted base layer underneath your lineart.
3. Go to your background file and repeat step 2, and move the background layer to the very bottom.
4. Adjust your base color layer as needed to line it up. DO NOT ADJUST THE LINEART LAYER, it is already aligned.
5. Select your base color layer. Using the Magic Wand Tool, select the space outside of the base color.
6. Keeping this space selected, click your lineart layer to make it the active layer. Use the Eraser to remove the ground shadow. You must do this, or your ground shadows will look much too thick and dark when in use, and keeping this space selected will prevent you from erasing too much lineart. Go to Select > Deselect when you're done.
7. Select your base color layer and Create New Layer above it. Right click the new layer and select Create Clipping Mask. This new layer is what you will be coloring on, and it is now locked onto your base color layer, which will prevent you from going outside the lines.
8. Color your dog! You can use more Clipping Mask layers as needed.
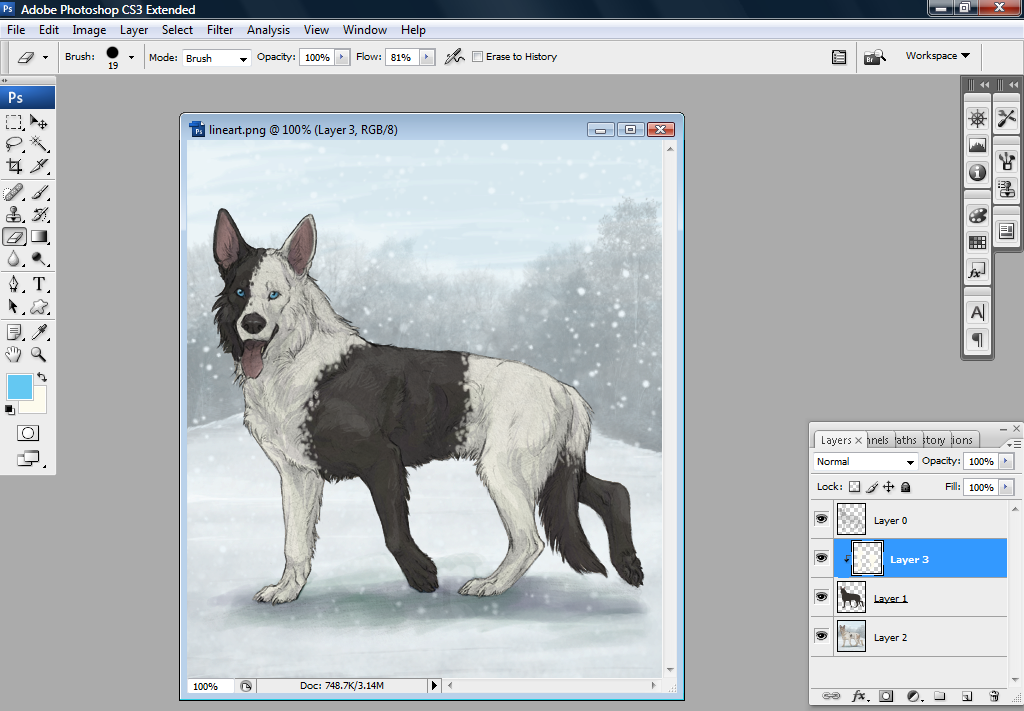
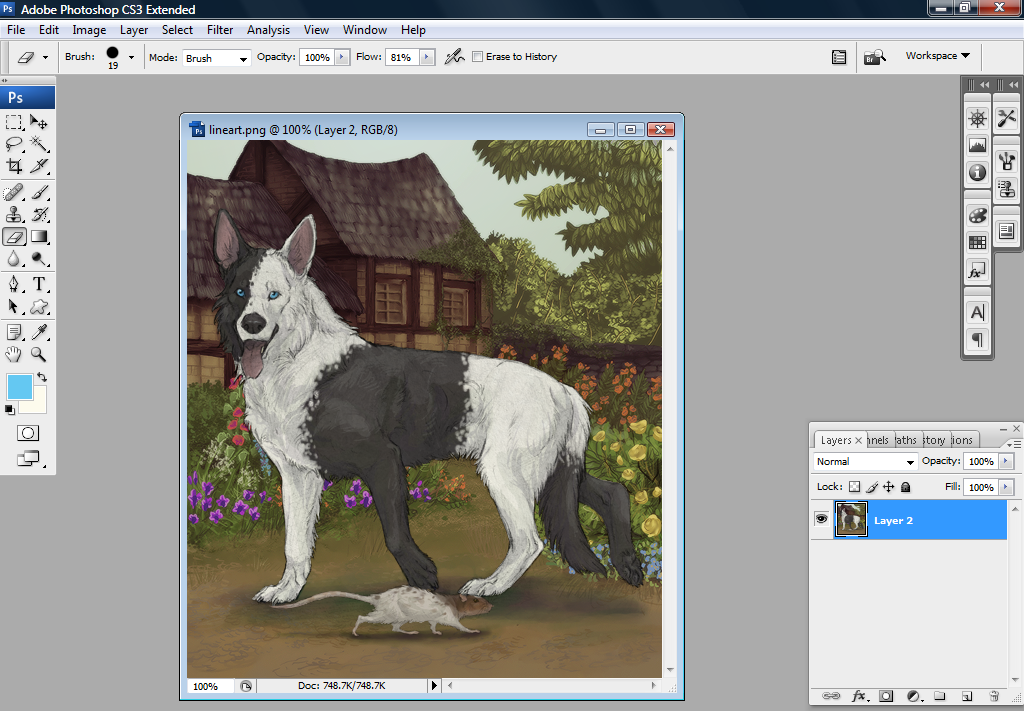
Your workspace should look similar to this.
When you're finished, delete your background layer so that only your lineart, base color, and clipping mask layers are showing. You should see the white and grey checkered transparency around them, like this.
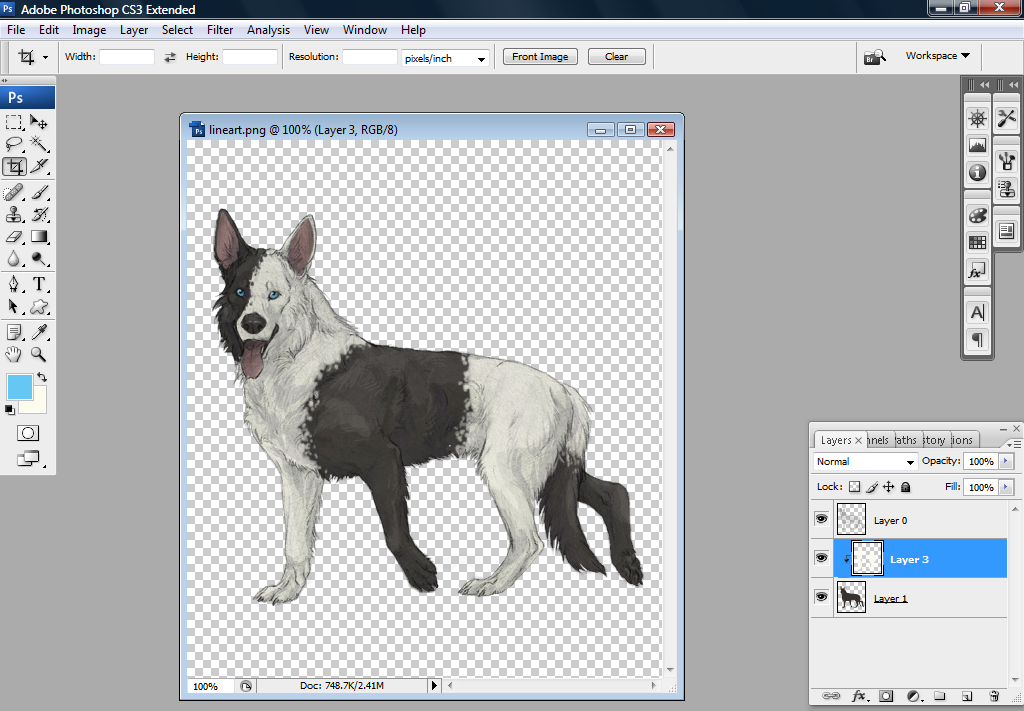
Now, go to Layer > Merge Visible, and wha-la! You now have a custom colored dog! Save this file as a .png, make a 100x100 .png icon for your inventory, and then use your Custom Accessory Maker!
And there you have it! :D I hope this is helpful for everyone, and proves to be a fun new way to use the Custom Accessory Maker! Hats off to Eireann who made a suggestion for custom dyes and sparked this idea. :}